Creating flatlay is just like telling a story. You can create whole scenario, depict your message through playing with props and background.
Every digital creator has their own style of shooting a flatlay. I have my own ways and rules, i don’t follow white background rule always. Major preference for me is to experiment with symbolic props and creating something different from regular Pinterest flat lays.
But here are few points i always keep in mind:
• it should be carefully constructed and pieced together with purpose
• Bird eye view is not necessary all the time
• mixing and matching of props is completely fine, but you can’t put cute scissors in a cake flatlay just because you have it
• choose a background that complements the featured product.
• your main product should b center or main focus. Don’t crowd it, it will distract the viewer from the main subject
• shooting in daylight never disappoints
• before grabbing your props, make a theme or story-line in your head. Select color palette according to your main subject
• use your phone camera to preview the setting, take photos with different set ups, analyze them and go with the most appealing setup at the end
• don’t over crowd, leave some space between props
• have some patience. It took me 30 minutes just to arrange this very basic shot:
Step: 1)
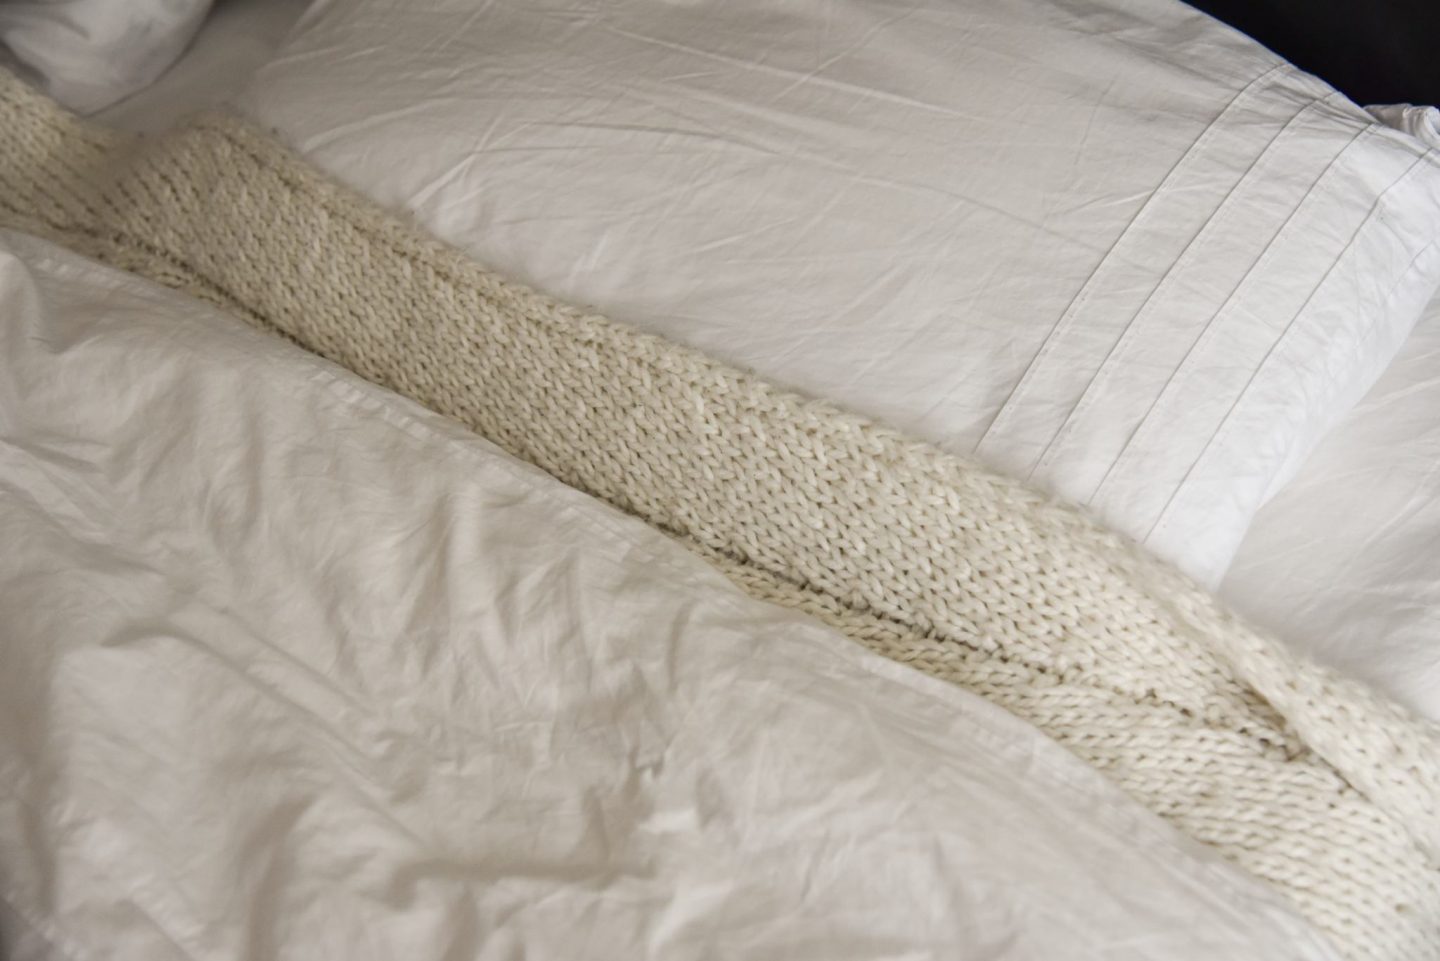
Nothing fancy, used my wrinkly bed sheet and daily blanket to create a story-line that tells fall morning and cinnamon rolls.
Step: 2)
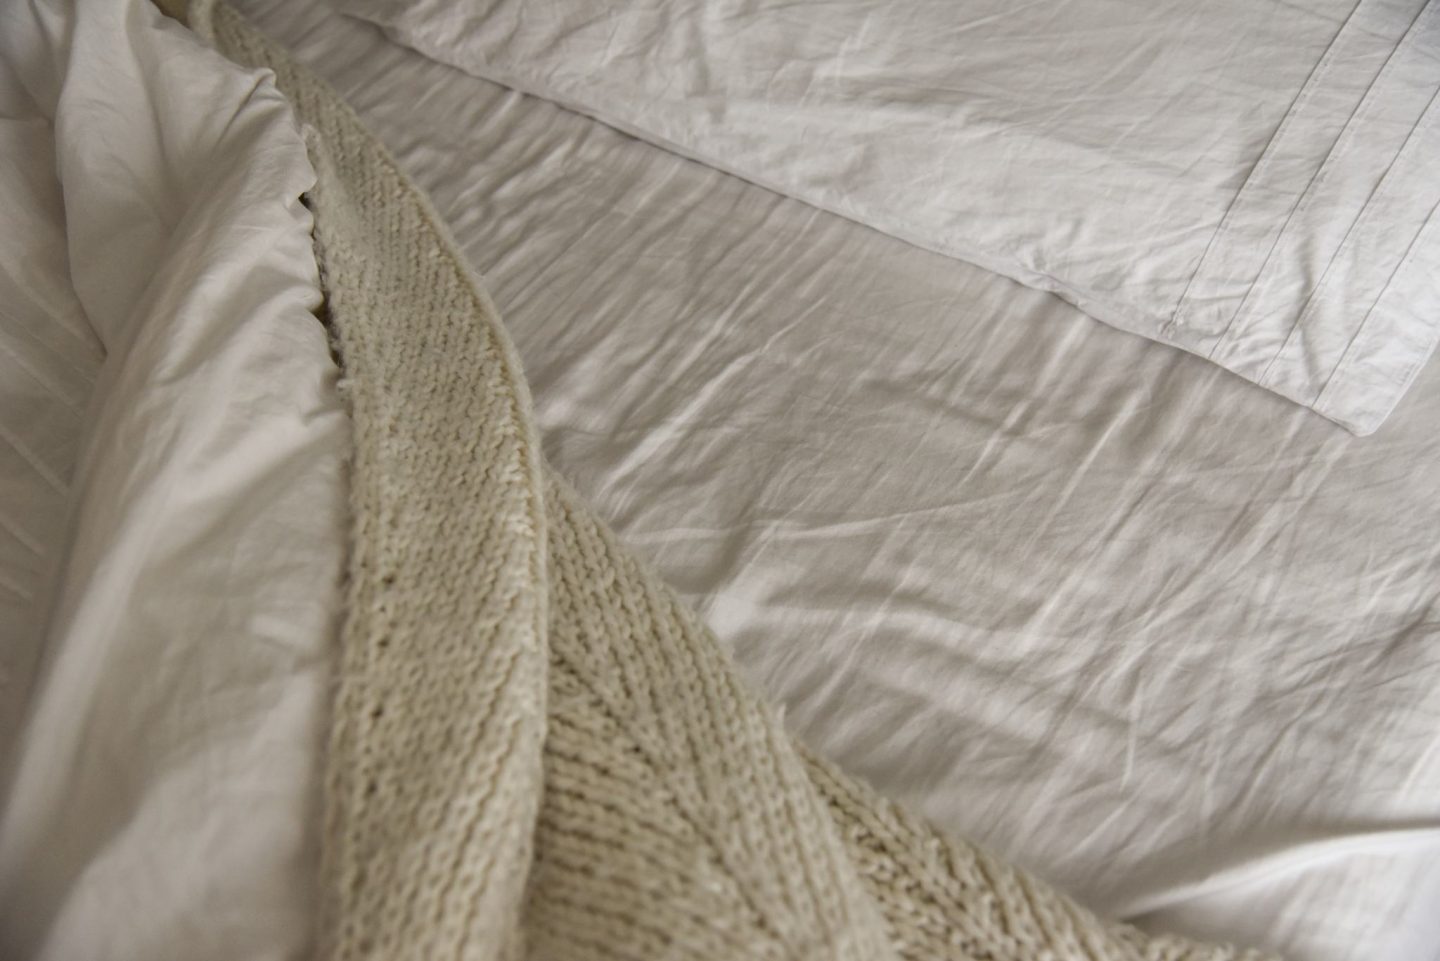
Folded one corner to create some drama, and it gave impression of lazy morning which was requirement of my story-line.
Step: 3)
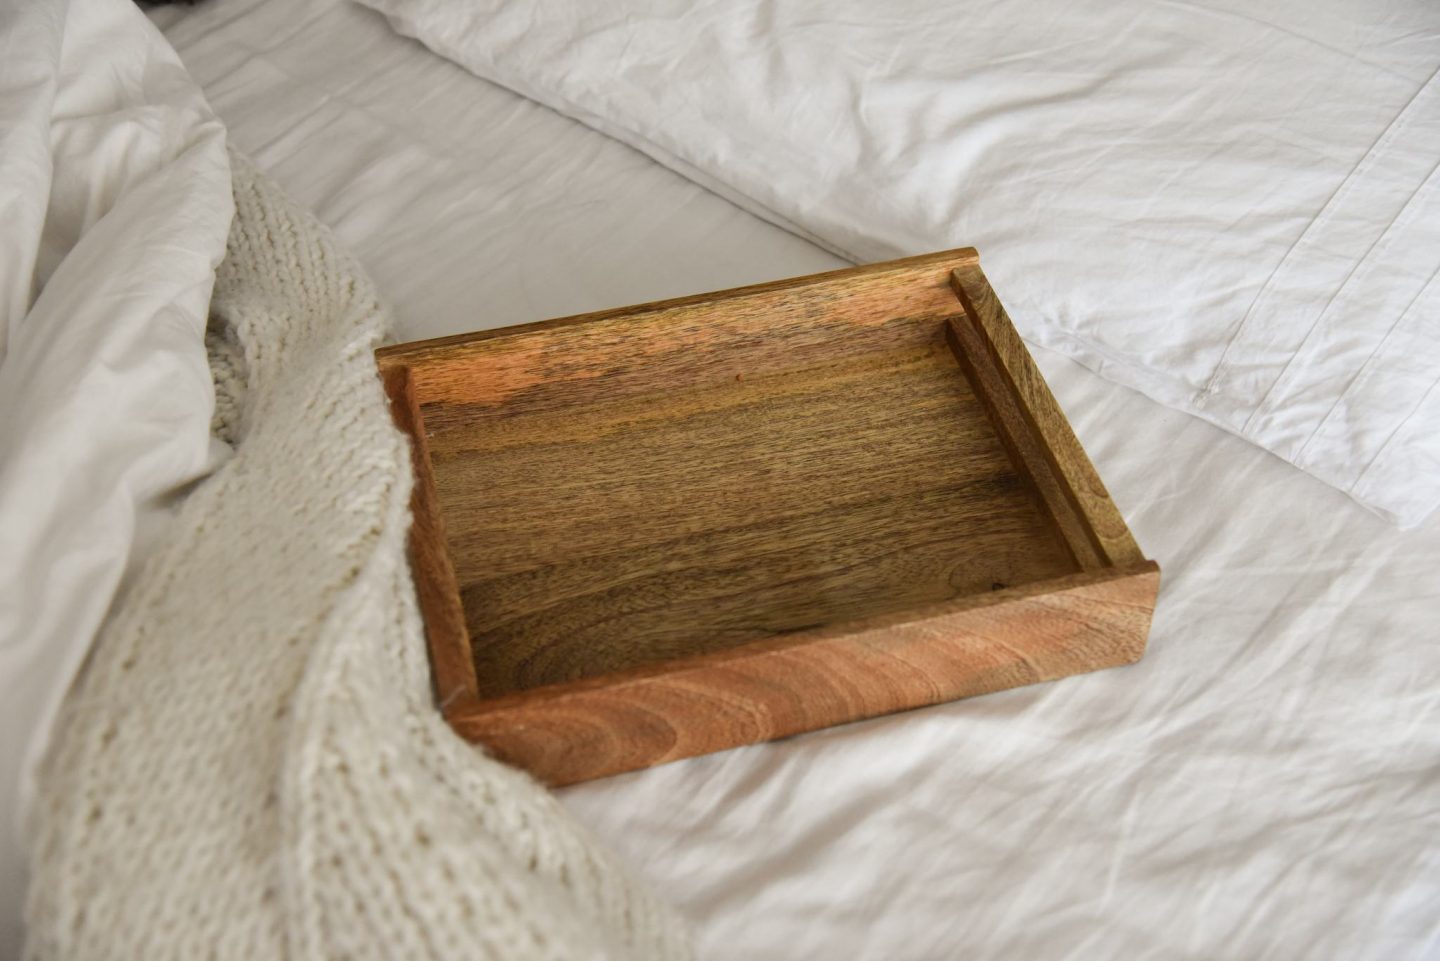
Couldn’t think of any other texture than a wooden tray to keep cinnamon rolls on.
Step: 4)
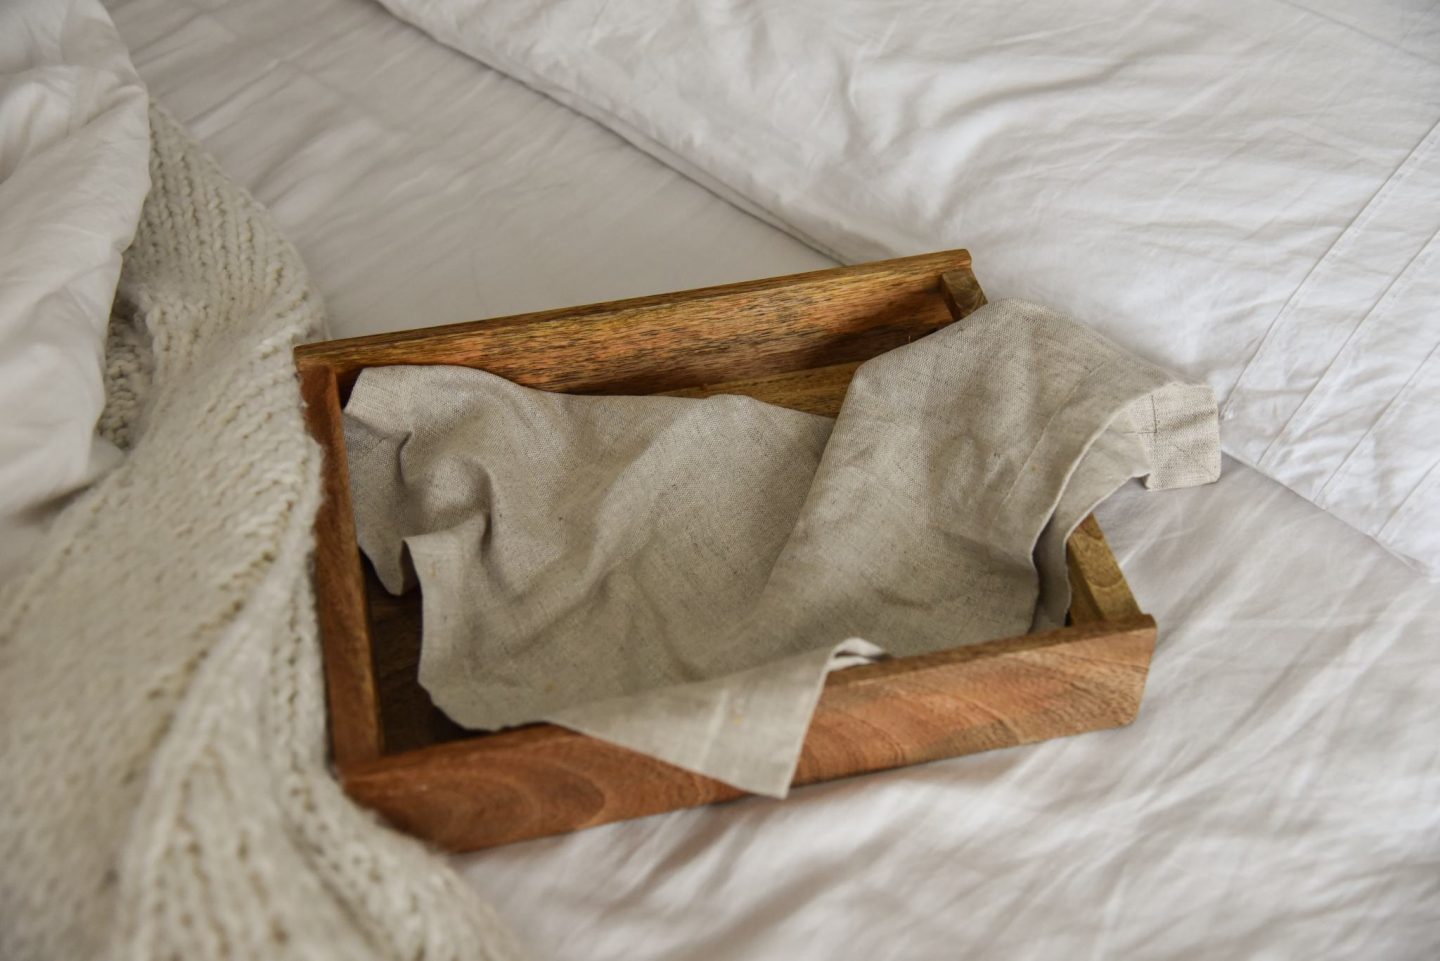
Since the tray was deep, i used a tea towel to add some volume under the plate.
Step: 5)
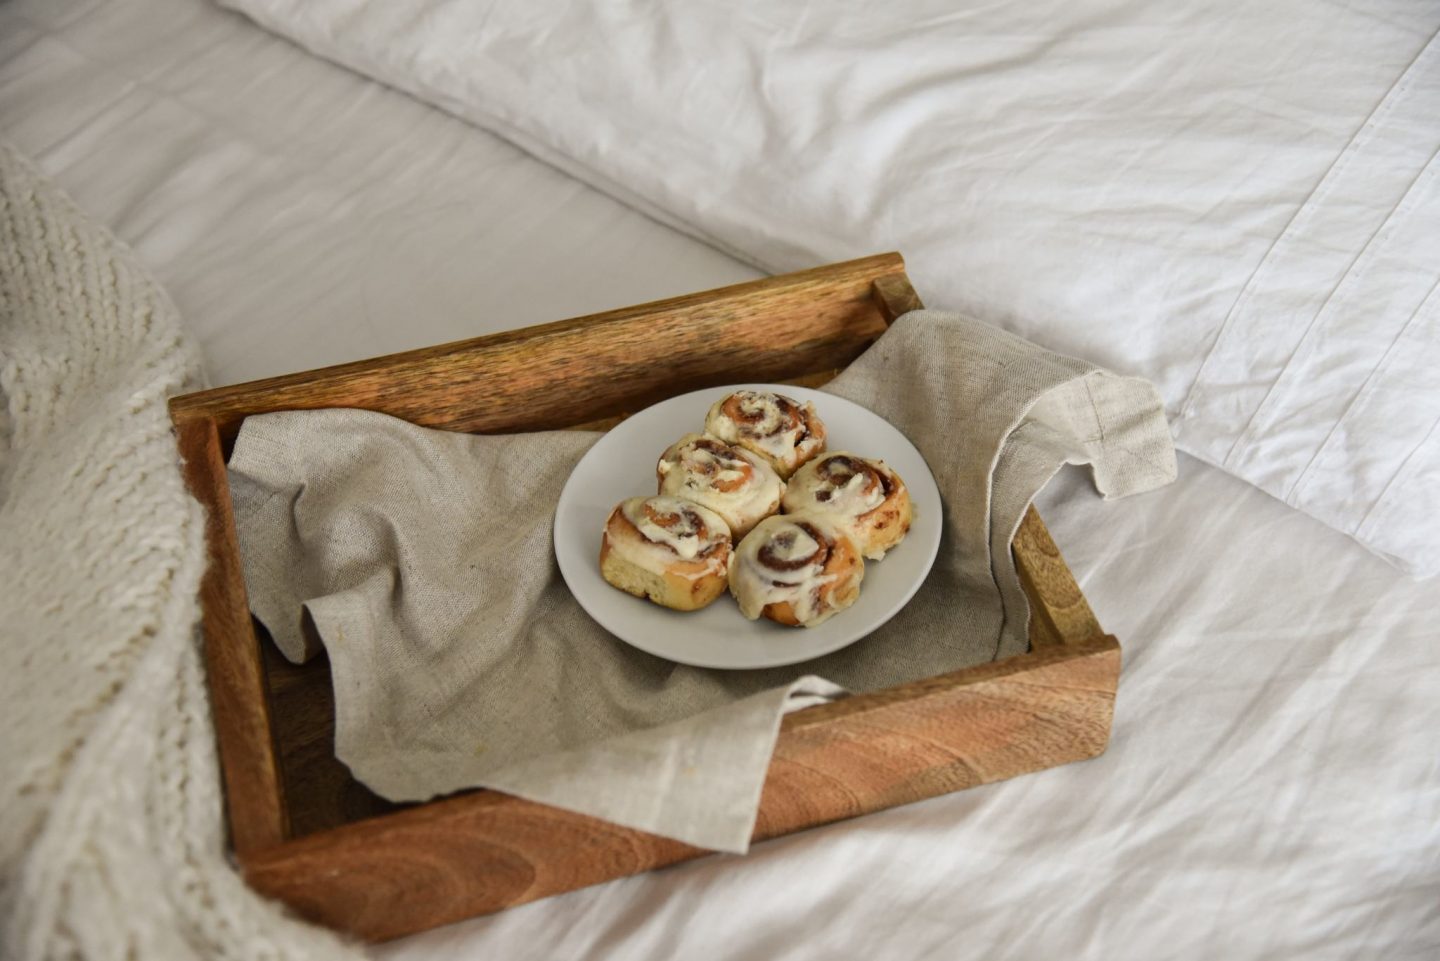
Starting with my main subject, cinnamon rolls, so that i can arrange rest of the props around it.
Step: 6)
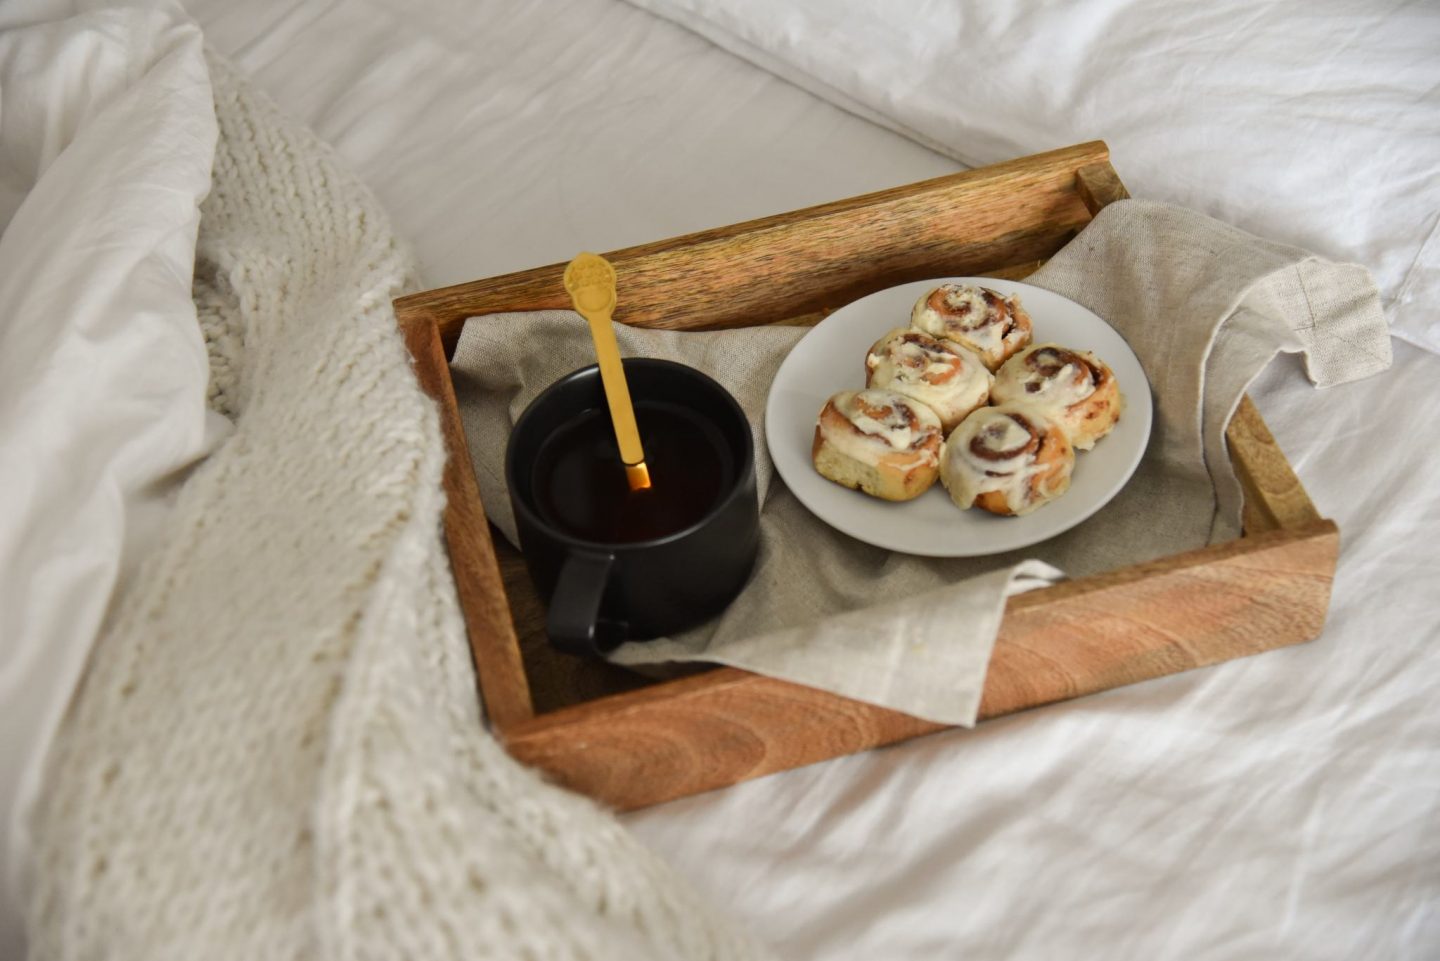
What goes best with morning, fall and cinnamon rolls? A cup of coffee off course! Minus saucer to make it look more casual.
Step: 7)
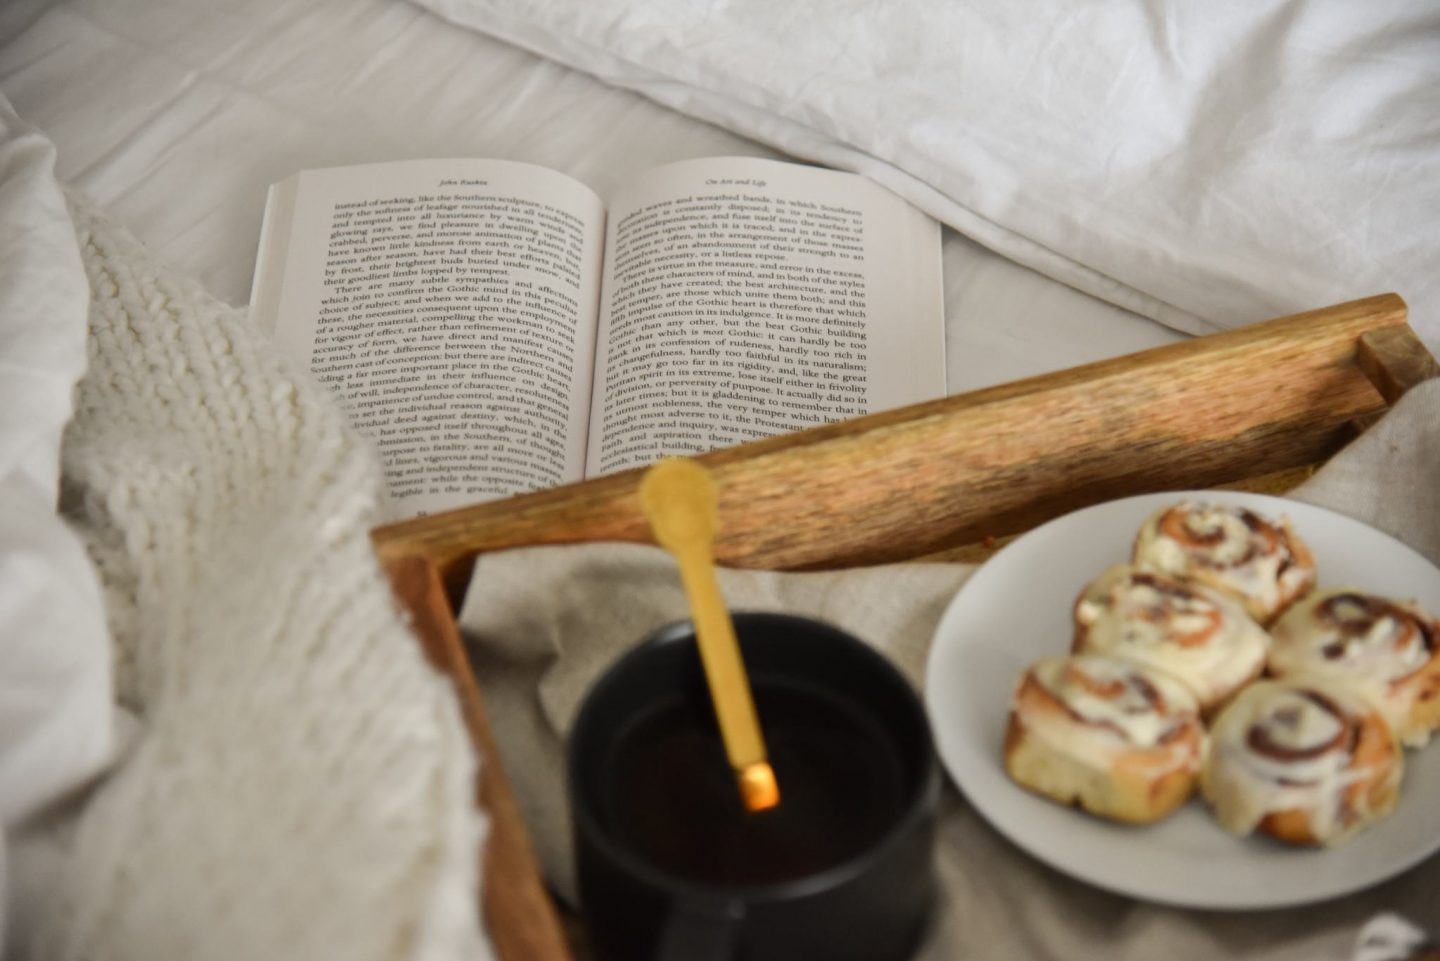
A book to create meaningful depth of field.
Step: 8)
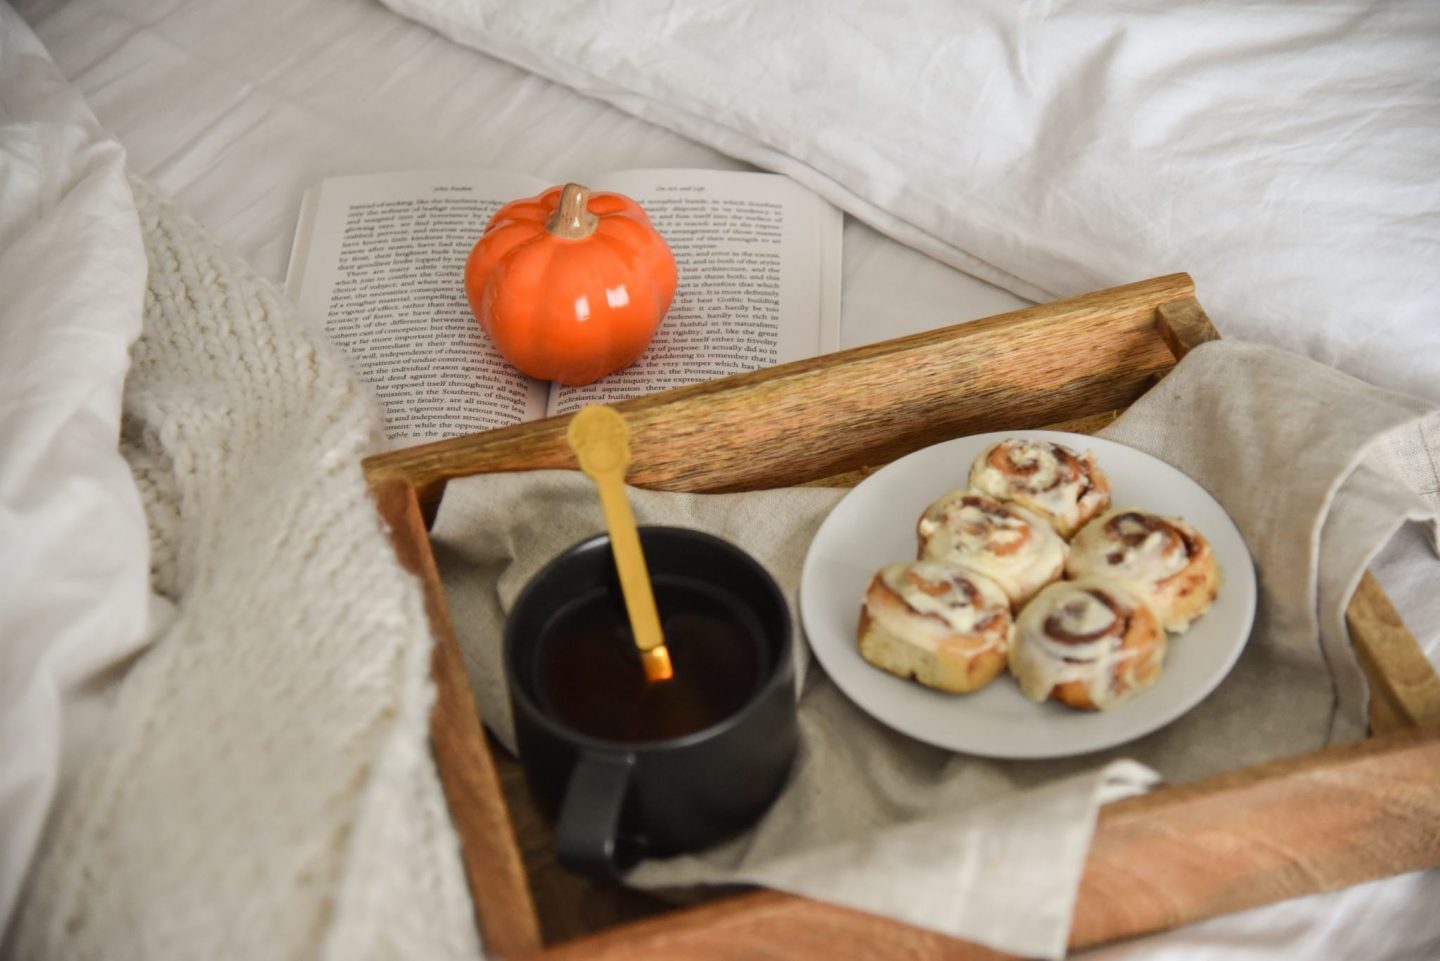
A fake pumpkin to compliment fall theme.
Step: 9)
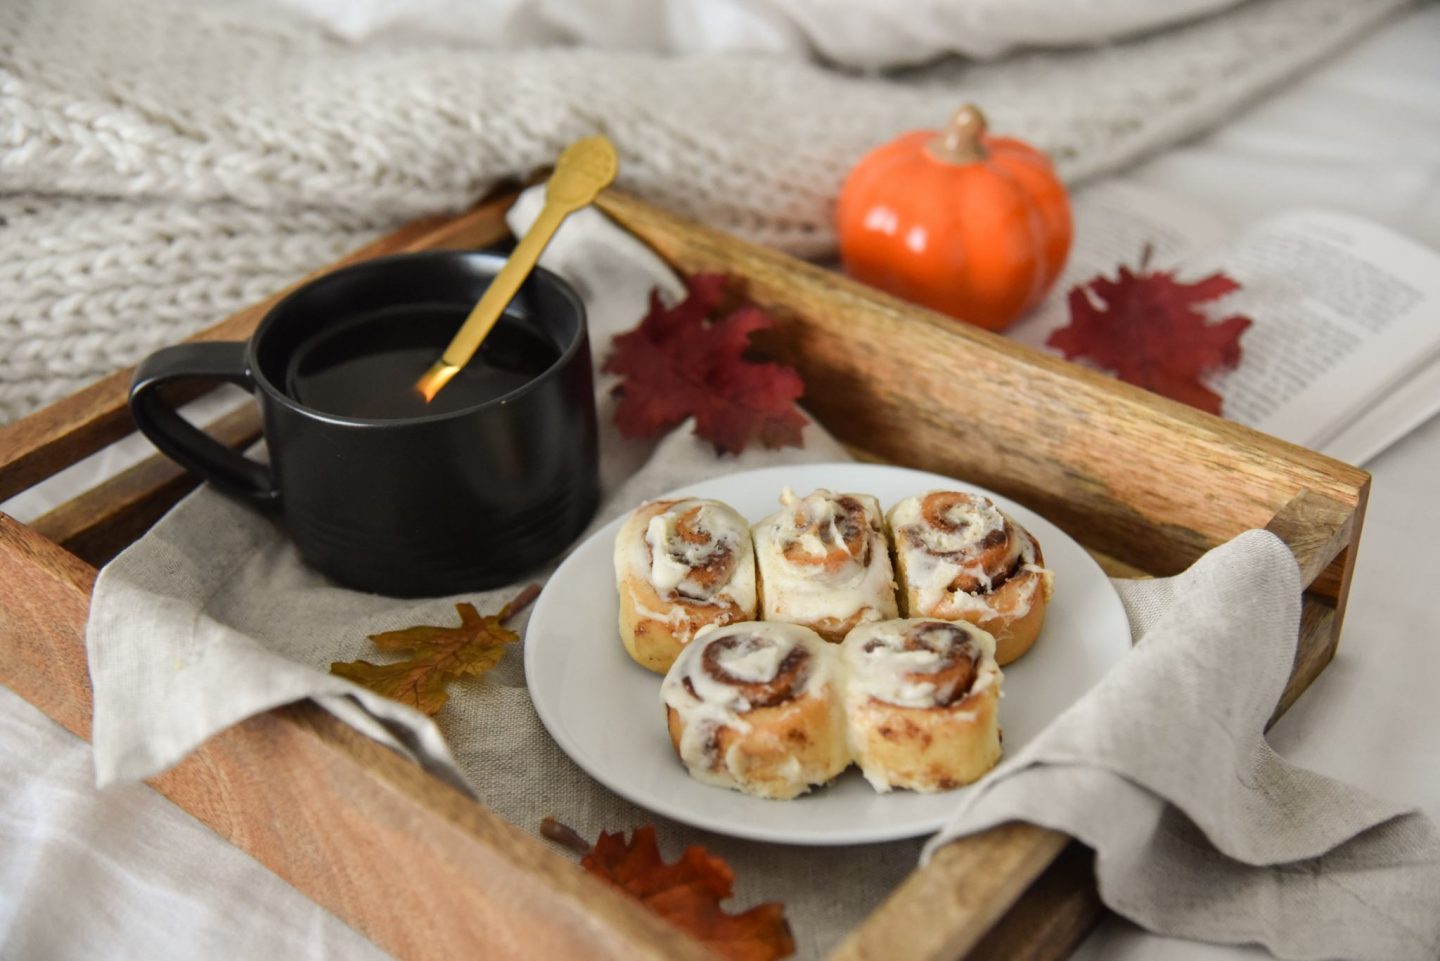
Some fake maple leaves, just to fill empty spaces without going overboard with props.
Step: 10)
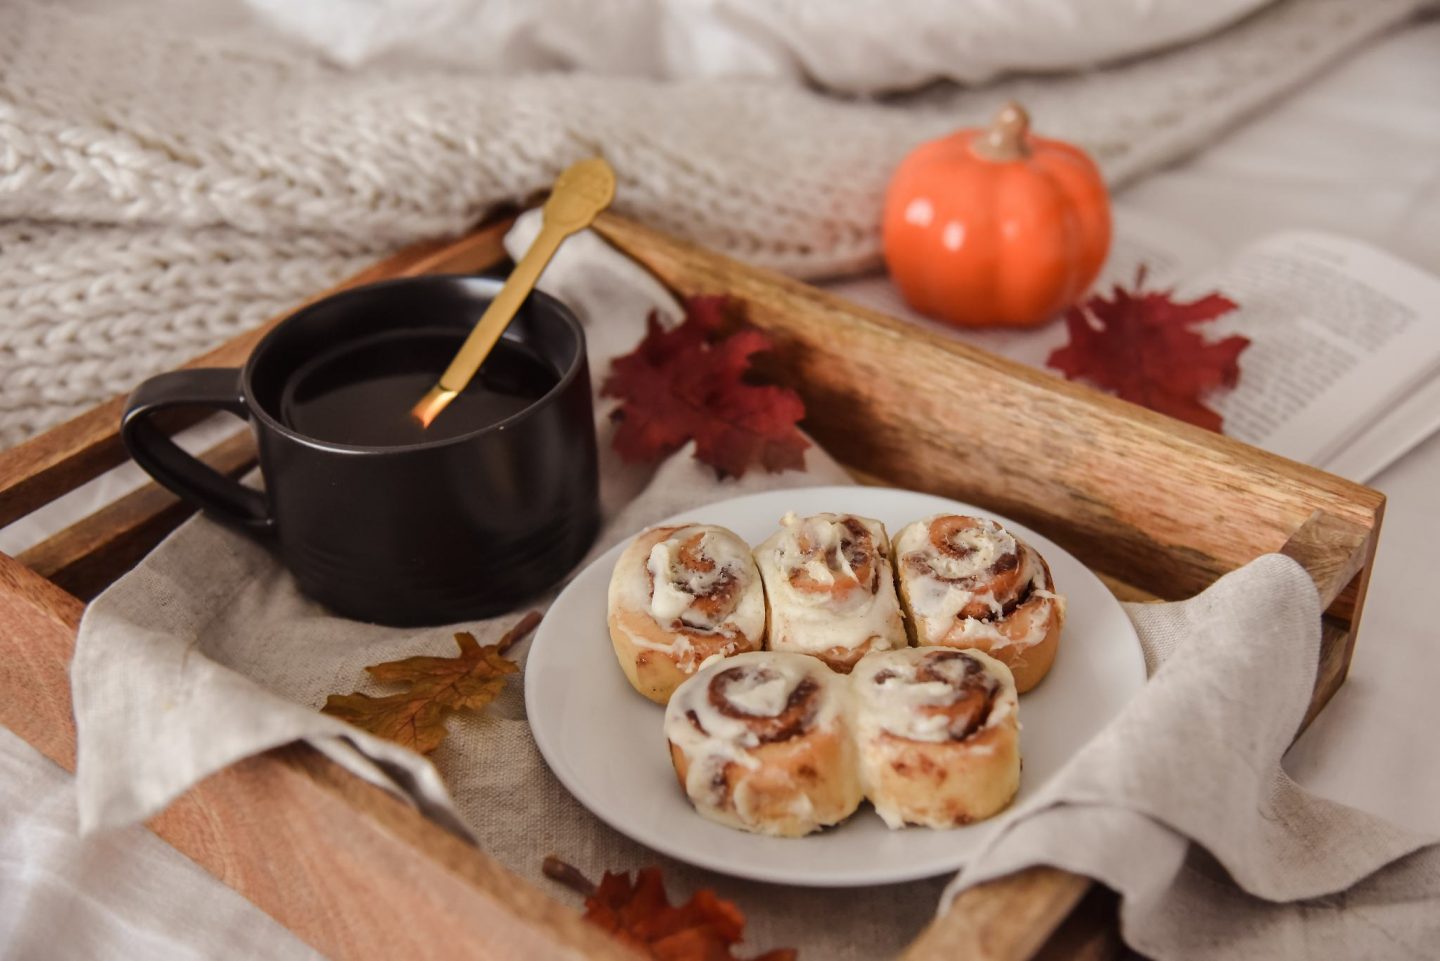
shot it from different heights and angles. And this was the most appealing one. Adjusted exposure and warmth in adobe photoshop, increased sharpness and Voila! you can use editing apps like snapseed to process your final shot.
Things i could have added, but decided not to were:
• sugar cubes
• specs
• shrubs
• candle
• fork
• mini flower vase
• newspaper
• orange
Now you can practice same style with any of the props mentioned above according to their availability.
Hope it would help you guys, and if it did, let me know in comments x

Incredible 💓 thanks for sharing your pro tips 😘
Waoooo u have described briefed & very beautifully each n every step for the beginners .Love the way u explained it.Huge respect ….😊
I mean briefly …